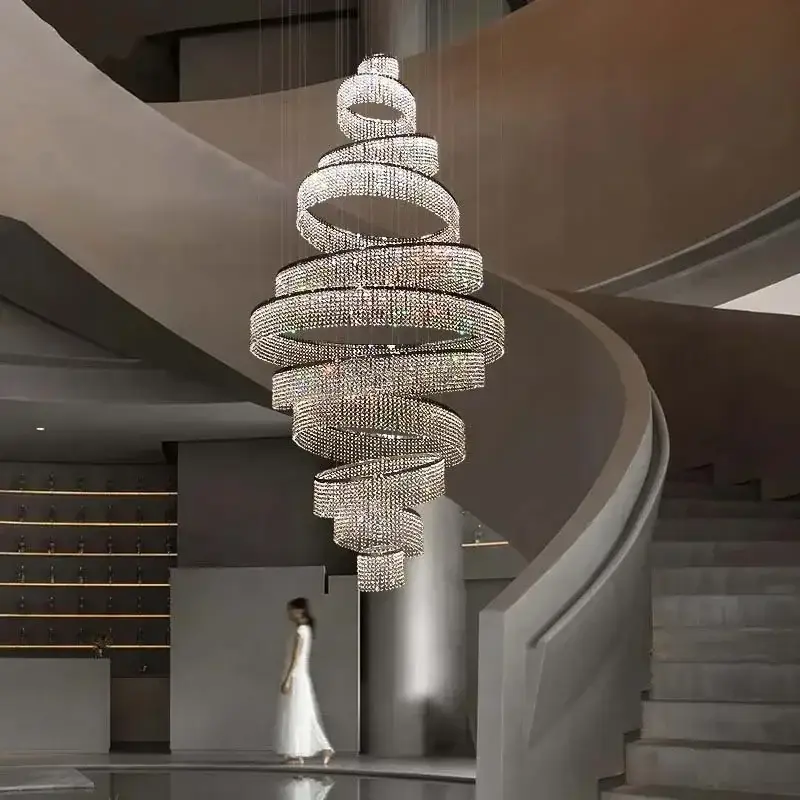


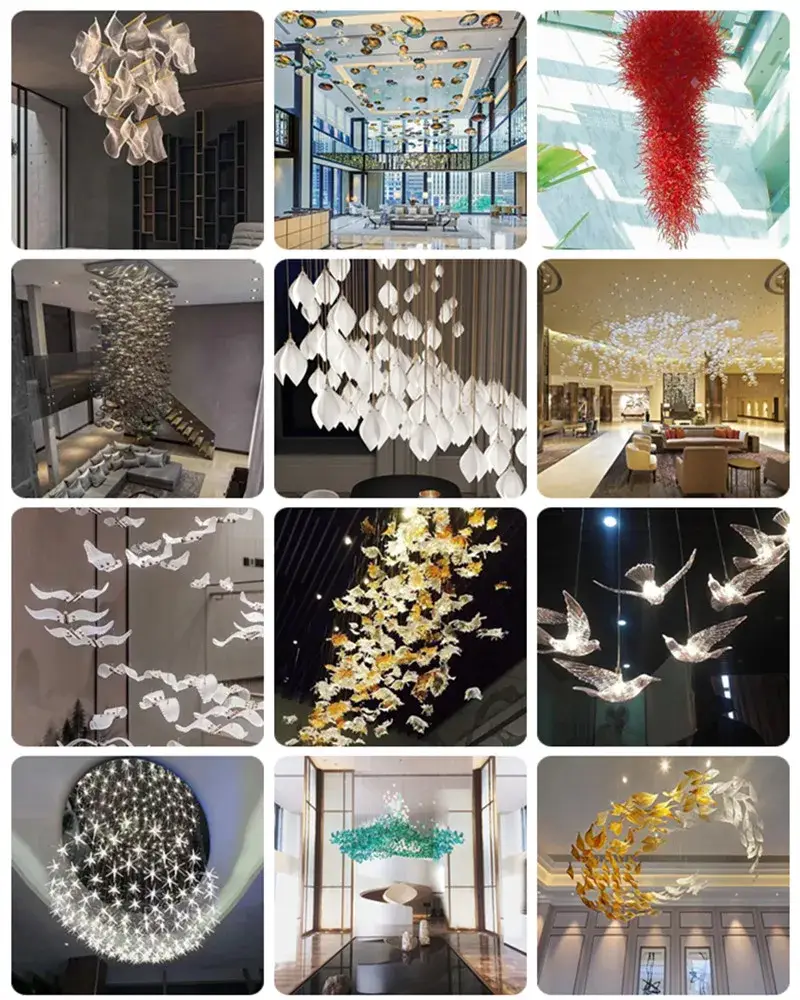


Modern Creative Crystal Stone Pendant DIY Install Hotel Office Conference Room Lobby Art Glass Pendant Chandeliers
Crystal drop Stone Pendant DIY Install chandelier Details :
- Material : Glass Stone
- Color : Black , Blue , Green , Clear , custome color, Dark Blue


Materials and Tools Needed for Your Crystal Stone Pendant Chandelier
Creating a stunning pendant chandelier is a rewarding DIY crystal stone project, especially when you combine beauty and craftsmanship.
The essential materials include various types of crystal stones that can add elegance and sparkle to your fixture.
Popular choices include Swarovski crystals, quartz, and glass beads.
Each type of crystal boasts unique characteristics; for instance,
Swarovski crystals are renowned for their superior brilliance and range of colors,
while quartz provides a natural and rustic appearance.
You can source these crystals from local craft stores, online retailers, or specialty shops that focus on home décor items, whether you are planning a crystal stone chandelier DIY or a custom pendant project.
In addition to the crystal stones
you will need a suitable base for your chandelier. Moreover, a creative crystal stone pendant can be achieved as a DIY project with the right foundation and tools.
Options like metal wire frames or wooden structures can provide support while highlighting the crystals’ beauty.
Decorative elements such as chains, hooks, and LED lights will also enhance your pendant chandelier’s visual appeal.
When selecting the base material, consider its durability and ability to withstand the weight of the crystals as you create a unique crystal stone DIY chandelier.
As for the tools, a reliable set includes wire cutters, pliers, a drill, and a hot glue gun.
The wire cutters and pliers are necessary for shaping and connecting the crystals to the frame.
A drill is essential if you are creating pilot holes for hanging fixtures while assembling your alabaster stone chandelier project.
The hot glue gun will help secure any components that need additional reinforcement.
Ensure that you choose the right size and style of tools for your chandelier’s design to facilitate a smooth construction process.
Safety should be a priority during this DIY project, including when crafting your own crystal drop stone pendant chandelier.
Wear protective eyewear when handling tools, and work in a well-ventilated area to mitigate any risks associated with dust or fumes from adhesives.
It is advisable to have a first-aid kit handy and to follow proper electrical guidelines if your design includes lighting components.
By having the right materials and tools, along with adhering to safety precautions, you are ready for your own alabaster stone chandelier adventure.
you are set for a successful DIY experience in crafting your crystal stone pendant chandelier.
Step-by-Step Guide to Installing Your Crystal Stone Pendant Chandelier
Installing your pendant chandelier made of crystal stones as a DIY project involves several key steps that ensure both safety and aesthetics.
Begin by gathering all necessary tools and materials, which typically include a ladder, much like any other crystal stone pendant chandelier DIY process.
screwdriver, wire cutters, and electrical tape, as well as your chandelier components.
Make sure to turn off the power supply at the circuit breaker to eliminate the risk of electrical shock during the installation process.
Next, prepare the mounting location. Ensure that the ceiling fixture can support the weight of your DIY crystal stone pendant chandelier.
the weight of your chandelier by checking the existing electrical box’s specifications.
If needed, replace the box with a more robust version. Using the ladder, install your unique chandelier as a creative Crystal drop Stone Pendant DIY project.
carefully secure the mounting bracket included with your chandelier to the ceiling,
allowing ample support for the structure.
Once the bracket is in place, it is time to assemble your chandelier.
Follow the manufacturer’s instructions to connect the individual crystal drop stones to the main frame of your DIY pendant chandelier.
Make sure all components fit securely to avoid misalignment. As you work, take note of the desired height of your natural stone chandelier creation.
Typically, a height of 30 to 36 inches above the table surface is recommended, ensuring it does not obstruct the view while providing adequate illumination.
After assembling the chandelier, you will need to handle the electrical components.
Carefully connect the chandelier’s wires to the home’s wiring: usually,
black to black (hot), white to white (neutral), and green or copper to the ground wire. In most natural stone chandelier installations, these steps are essential for safety.
Make sure to use wire connectors and electrical tape to secure the connections properly.
Once connections are complete, gently tuck the wires back into the electrical box.
Carefully hang the chandelier by attaching it to the mounting bracket and adjusting the height as desired. After securely fastening it, your DIY crystal stone pendant work is almost finished.
turn the power back on and test the fixture to ensure it operates correctly. If any issues arise during your natural stone chandelier process,
such as flickering lights or a non-functioning fixture, consult troubleshooting tips provided in the manual to address these concerns efficiently.